No Product Yet
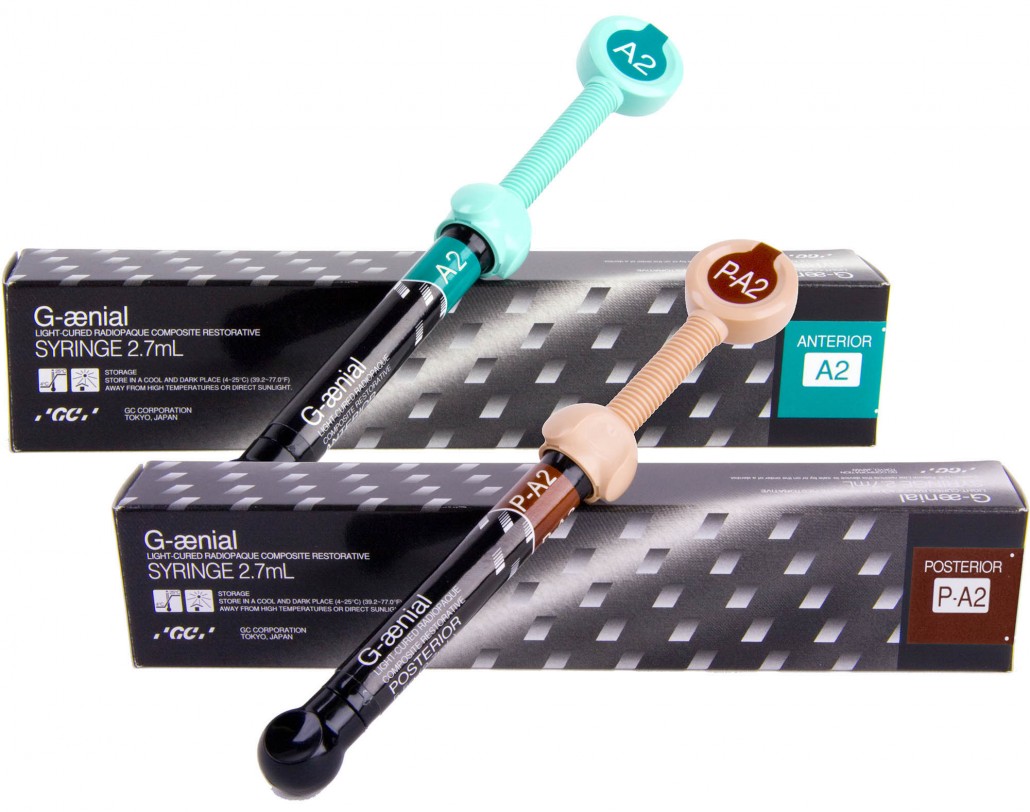
GC G-Aenial Posterior
Posterior Composite Restorative
18% OFF
Rs.3,000.00 Rs.3,659.00
Out of stock
Cash on Delivery (COD) Payment Service Available COD enabled for selected products only. If all items in your cart are COD enabled. The eligible cart value for COD falls within the Rs. 100 to Rs. 10,000 range.
 Save Extra with 4 offers Partner Offers: Get GST invoice and sav up to 28% on business purchases.
 Save Rs. 500 Discount on order above Rs 20,000
Save Rs. 200 Discount on order above Rs 10,000
Save Rs. 100 Delivery charges on orders above Rs 5,000
Description
GC G-ænial Posterior features a more condensed filler content which gives a firmer consistency and greater control when contouring anatomical form in posterior restorations. The packable material will still wet and flow when manipulated to ensure tight moulding, even in the deepest cavities. The unique blend is formulated for both strength and low shrinkage stress.
| Brand | GC |
|---|---|
| Benefits | High fracture toughness and reduced polymerisation shrinkage stress for long-lasting restorations Easy and quick polish to a smooth, glossy surface |
| Features | Non-sticky packable viscosity for better control contouring and building anatomical forms |
| KEY Specifications | High fracture toughness and reduced polymerisation shrinkage stress for long-lasting restorations Easy and quick polish to a smooth, glossy surface |
| Directions To USE | Step 1. Shade Selection Clean the tooth with pumice and water. Shade selection should be made prior to isolation. Select the appropriate G-ænial shades by referring to the G-ænial shade guide. Step 2. Cavity Preparation Prepare cavity using standard techniques. Dry by gently blowing with oil free air. Note : For pulp capping, use calcium hydroxide. Step 3. Bonding Treatment For bonding G-ænial to enamel and / or dentin, use a light-cured bonding system such as GC G-ænial Bond, GC G-BOND, GC Fuji BOND LC or GC UniFil Bond (Fig. 1). Step 4. Placement of G-ænial 1) Dispensing from a Unitip Insert the G-ænial Unitip into the Unitip APPLIER or equivalent. Remove the cap and extrude material directly into the prepared cavity. Use steady pressure (Fig. 2). Maintain pressure on the applier handle while removing the Unitip APPLIER and Unitip from the mouth. This prevents the Unitip from coming loose from the applier. 2) Dispensing from a syringe Remove syringe cap and dispense material onto a mixing pad. Place the material into the cavity using a suitable placement instrument. After dispensing, screw syringe plunger anticlockwise by a half to full turn to release residual pressure inside the syringe. Replace cap immediately after use. Note : Basically, material can be applied in a single layer to achieve aesthetic restorations using Standard shades. For details, refer to the Clinical Hints. Material may be hard to extrude immediately after removing from cold storage. Prior to use, leave to stand for a few minutes at normal room temperature. After dispensing, avoid too long exposure to ambient light. Ambient light can shorten the manipulation time. Step 5. Contouring before Light Curing Contour using standard techniques. Step 6. Light Curing Light cure G-ænial using a light curing unit (Fig. 3). Keep light guide as close as possible to the surface. Refer to the following chart for Irradiation Time and Effective Depth of Cure. Note : Material should be placed and light cured in layers. For maximum layer thickness, please consult the tables. Lower light intensity may cause insufficient curing or discoloration of the material. Step 7. Finishing and Polishing Finish and polish using diamond burs, polishing points and discs. To obtain a high gloss, polishing pastes can be used. |
| Packaging | 1 x 2.7ML(5.5GM) |
|---|